

How to Generate Account Statement in i-Account and Upload it to i-Neighbour.

Introduction
A Statement of Account (SOA) is a great way to provide owners with a recap of the charges billed to them and the payments already made. Furthermore, SOA can also be used as a tool for payment reminder as it informs the owners of their outstanding account balance.
A Statement of Account (SOA) is a great way to provide owners with a recap of the charges billed to them and the payments already made. Furthermore, SOA can also be used as a tool for payment reminder as it informs the owners of their outstanding account balance.
Thus, to ensure that owners have updated information on their account status, Admin can generate an SOA using i-Account and upload the document to i-Neighbour. Once uploaded, owners can view their SOA in i-Neighbour’s e-Billing > Account Statement page through the web or mobile app.
Admin can follow the below steps to generate and upload the Account Statement:

How to Generate SOA in i-Account
Step 1
To generate SOA, go to Property > Account Statements .

Step 2
Click on the “+Account Statement” button to generate a new SOA.

Step 3
You will be directed to the Add Account Statement page. Fill in the details and select from the list of options provided:

Step 4
Once complete, click on the “Add” icon at the bottom of the page to generate the SOA.

Step 5
After the SOA is successfully generated, it will be listed on this page. You can view, upload or delete the SOA by clicking on the respective icons.

Step 6
If you already uploaded the SOA to i-Neighbour, the upload (arrow) icon will be hidden, for example:

Sample Statement of Account for Unit

Sample of Statement of Account

How to View SOA in i-Neighbour
Admin or Residents/owners can view the SOA at the e-billing module in the i-Neighbour app or website once Admin uploads the SOA to i-Neighbour.
a) Website (Admin Login)
Step 1
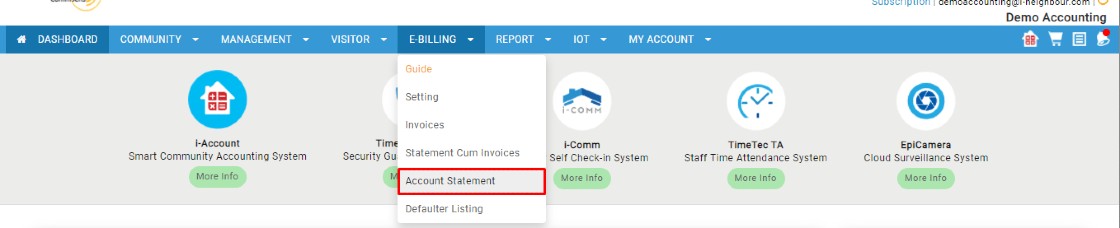
Login to i-Neighbour website and go to e-Billing module > Account Statement.
Step 1
Login to i-Neighbour website and go to e-Billing module > Account Statement.
Step 2
All the uploaded Statement of Account will be displayed on this page and Admin can filter according to their preference. Admin can click the “View” icon to view the Statement of Account.

b) i-Neighbour Mobile App (Resident/Owner) Login
Step 1
Login to i-Neighbour App and tap on “More” icon as the below example:

Step 2
Once you have selected the “More” menu, then go to Billing Info and select Account Statements.

Step 3
On the Account Statements screen, Residents/Owner can view a listing of all the SOA uploaded by the Admin. Tap on one to view/download a copy (pdf) of the SOA.

Note: If some of the screenshots or steps viewed here are different from the ones in the current system, this is due to our continuous effort to improve our system from time to time. Please notify us at info@fingertec.com, we will update it as soon as possible.


0 comments:
Have any questions or inquiries about FingerTec? Drop your input here.