

Get Live Updates of Patrolling Activities through Live Monitoring Feature in TimeTec Patrol
This post was originally published in Nov 2017 and was updated in Jan 2019.
Introduction
Often times, supervisor in charge have trouble in keeping track of the patrolling activities that’s been carried out daily. With TimeTec Patrol, supervisor can now keep track of the patrolling activities by checking on the patrolling records and get live updates through Live Monitoring feature.
To use TimeTec Patrol, make sure you have done the steps below:
ii. Add Patrol Device – Download TimeTec Patrol app, retrieve mobile ID, add the patrol device and assign supervisor/guard.
iii. Add NFC tags or Beacons - Install and registered the NFC tags and beacons as checkpoints. Please refer here for the steps.
iv. Add and assign Guards in the system.
v. Brief guard on using offline mode if they will be patrolling at areas with no Internet connectivity
Once the steps above are ticked off your list, you are ready to move on to the Live Monitoring module, where you can track all patrolling guards’ activities and records.
Live Monitoring Features
When any patrolling route starts, supervisors in charge of monitoring can navigate to this page on their TimeTec Patrol account to get instant access to all tour information and oversee the entire security operations. Here’s how to use the features:
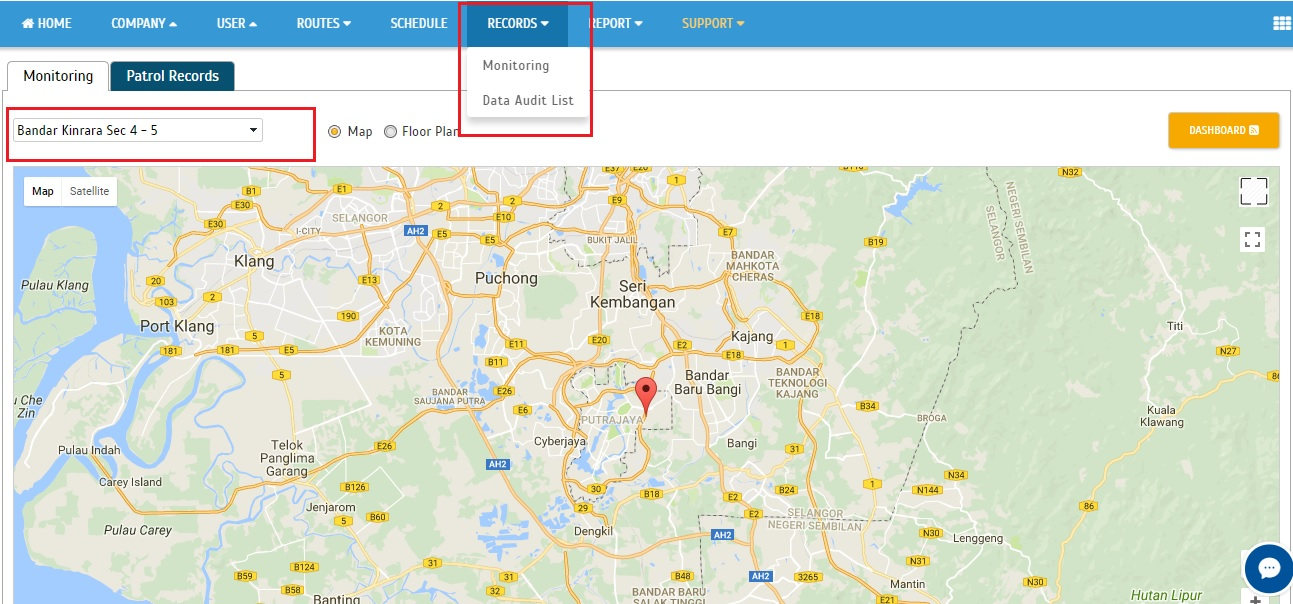
1. Go to Records > Monitoring. Select the appropriate patrol location (Master Admin is able to view all patrol locations while other admins might have partial authorisation to only view their assigned location).
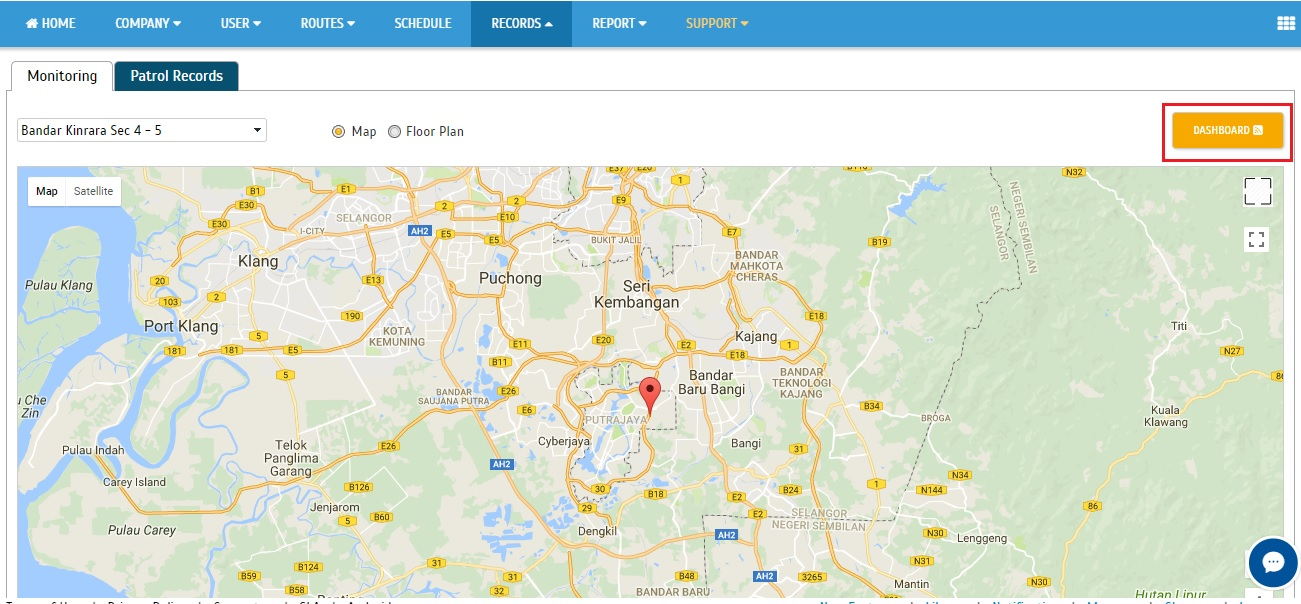
2. At the right corner, there is a quick link button to switch to ‘Dashboard’ view and vice versa - View today’s Patrol Schedule, work rate for the last 7 days.

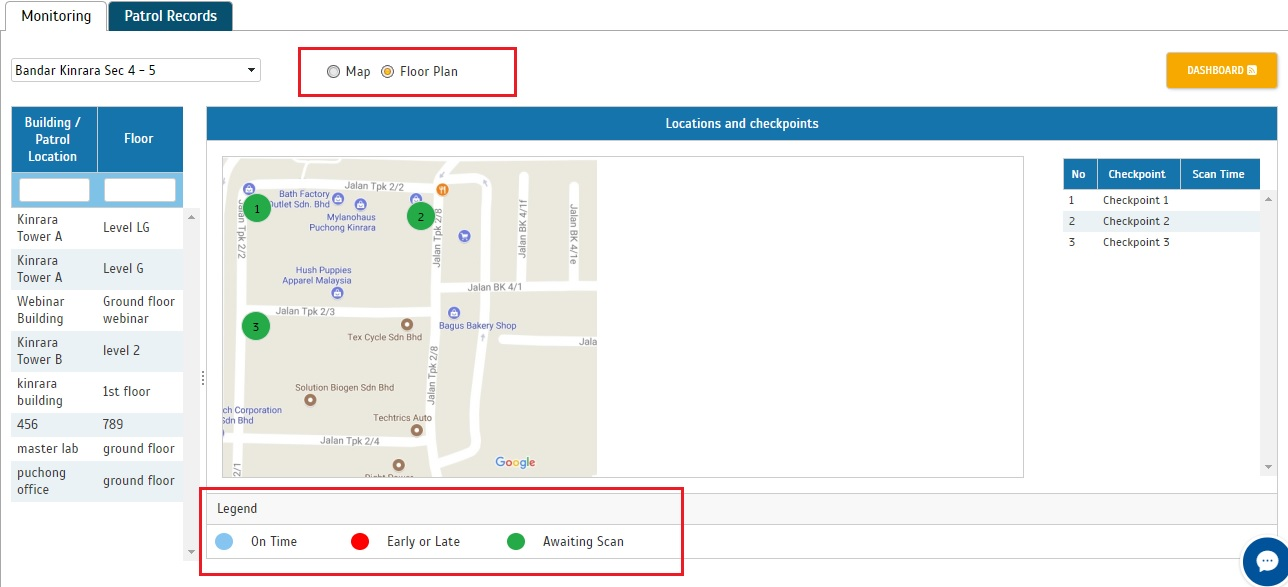
3. Back at Monitoring, admin can choose to view Map or Floor Plan. The Floor plan will show all your checkpoints and if guards have already started patrolling, the colour of the checkpoints will change to indicate whether the guards are on time, late or yet to scan the checkpoint.
4. Scroll down to view the SOS Alert Listing and the Incident Report Listing. These are events that can be reported by guards at any time, including during patrol tour. Click to view any Photo Attachment that has been submitted by a guard.
When guards use the app to report an incident, besides capturing a photo, they can also record a Voice Note as attachment. To listen to the voice recording, click on the ‘Play’ icon in the Incident Report Listing.
Note: Any incident reported when the guard is on patrol duty (i.e. performing scans- start tour, checkpoint scans, end tour) will be displayed in the Live Feed section further down the same page.


a) Incident Report
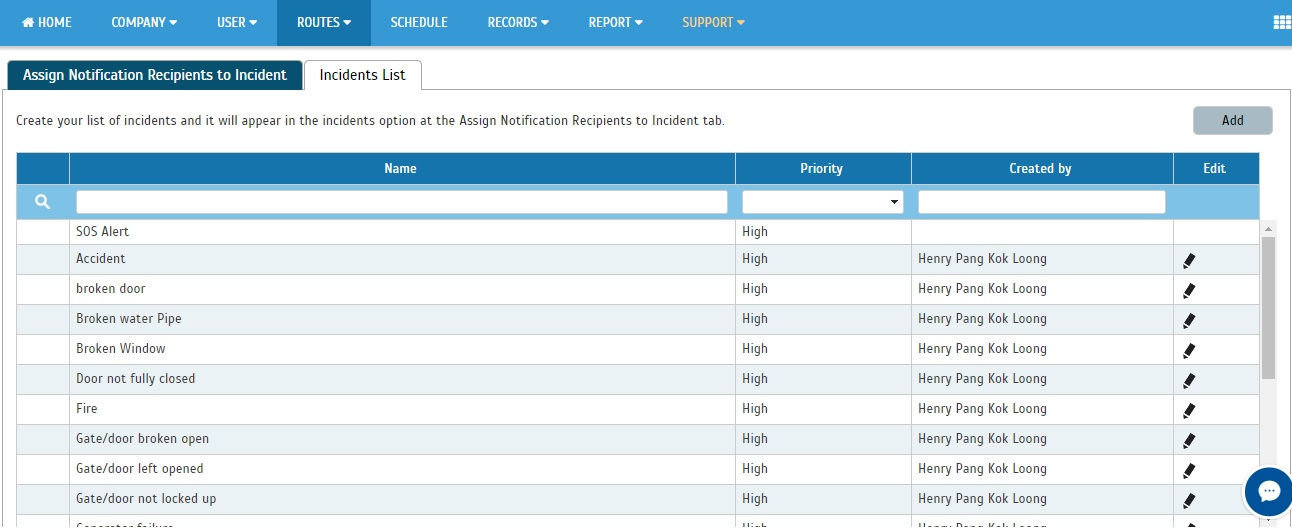
During patrol rounds or other times, there are certain incidents that can be reported by guards and to notify assigned recipients. However, the incident list must first be created by Admin at Routes > Incidents & Notifications > Incidents List.


b) SOS Alert
Panic button can be triggered by guard via mobile app and alerts will be sent to the intended recipients for further action. The system also shows record of the Notification Recipient that has viewed or acknowledged the alert.
Refer to this article for more information on the SOS Alert function:
http://www.fingertectips.com/2018/05/how-to-use-timetec-patrols-panic-button.html

5. Scroll down further to view the Live Feed. This displays the start and end of tour, check in at each checkpoint.

a) The information is updated from mobile app immediately after the guard starts/ends tour or scans checkpoints, provided that internet connection is available at that time.

b) To view recent records beyond the latest entries displayed in Live Feed, go to Records > Data Audit List.

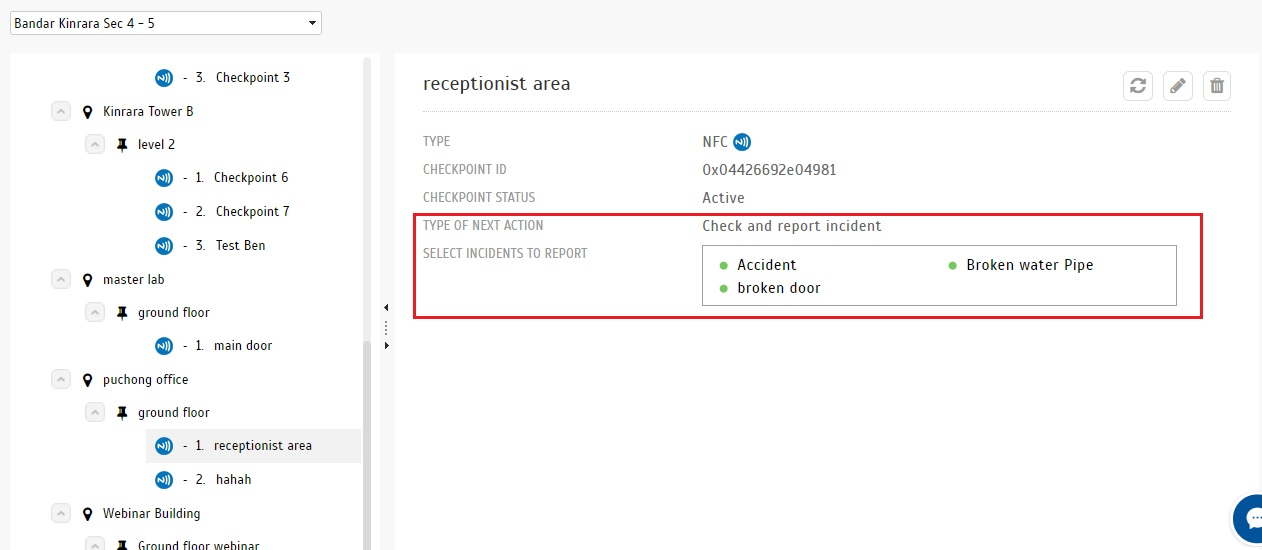
c) When guards scan at each checkpoint, based on the Admin’s configuration, they may be required to perform an action such as ‘Check and report incident’. The details for any Incident Reported will then be shown in a separate column within Live Feed. Refer to below for example:

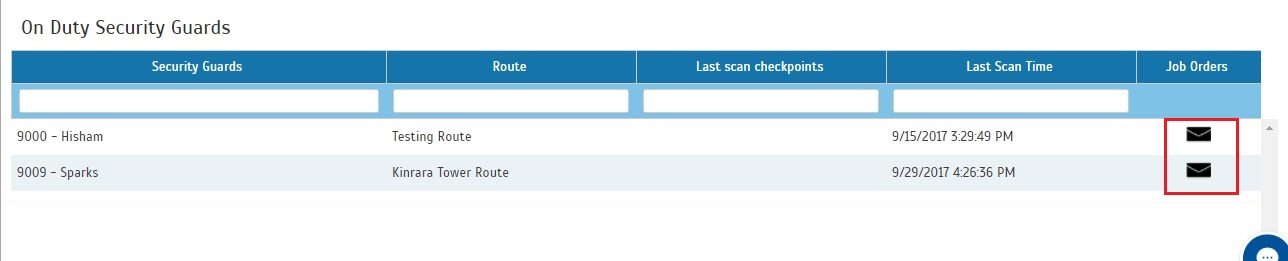
6. Finally, the bottom section of Monitoring shows the On Duty Security Guards. This section shows list of guards that are scheduled for duty at the current time, e.g. at 4pm. In the image below, at the moment captured (4pm), there were 2 guards on duty.
a) Job Order - Click job order to send instructions for additional/ad hoc tasks to guards on duty.
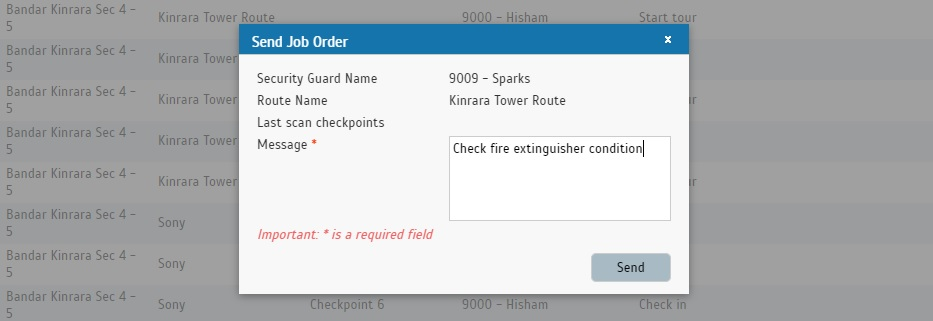
b) Send Job Order
c) Job Order display in app

7. The next tab is Patrol Records - View summary and/or details of the selected patrol rounds.
a) You can filter the Location and also Date
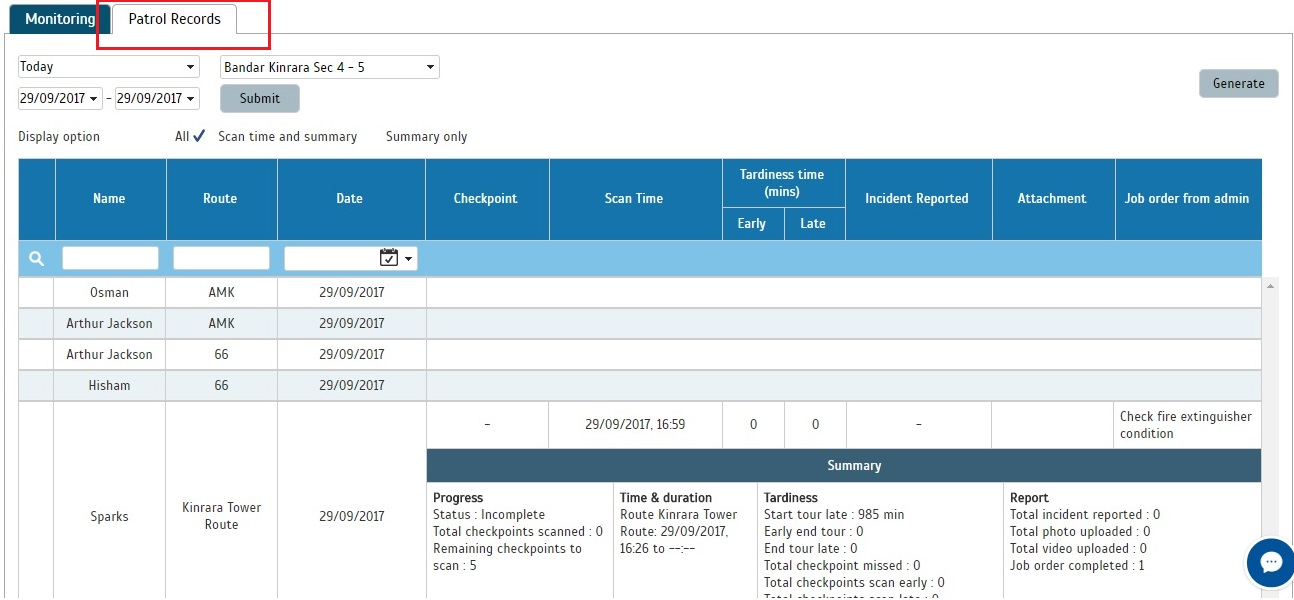
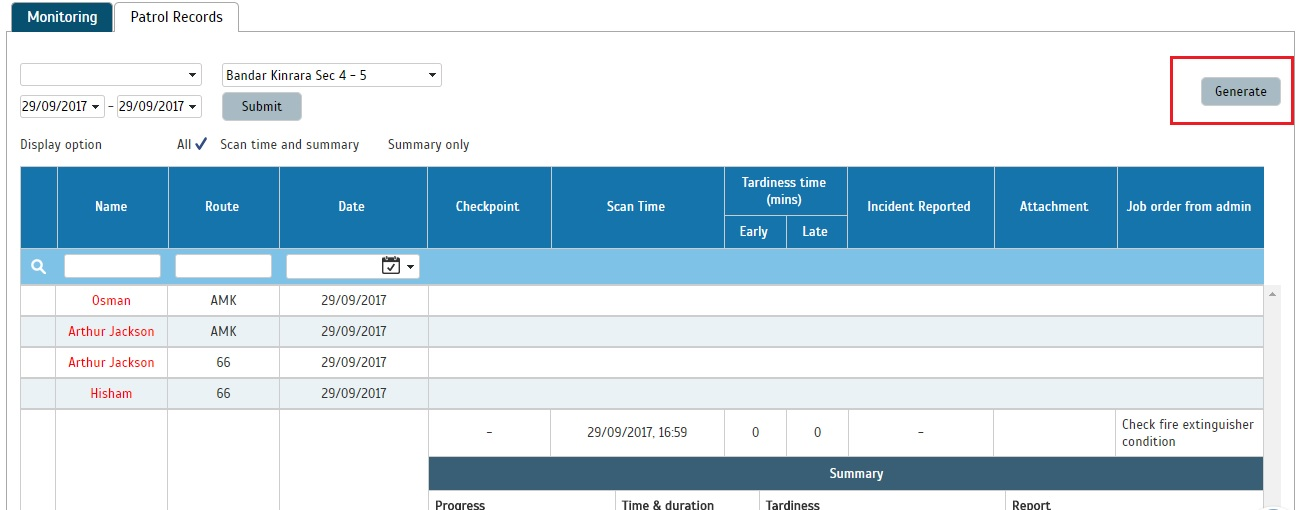
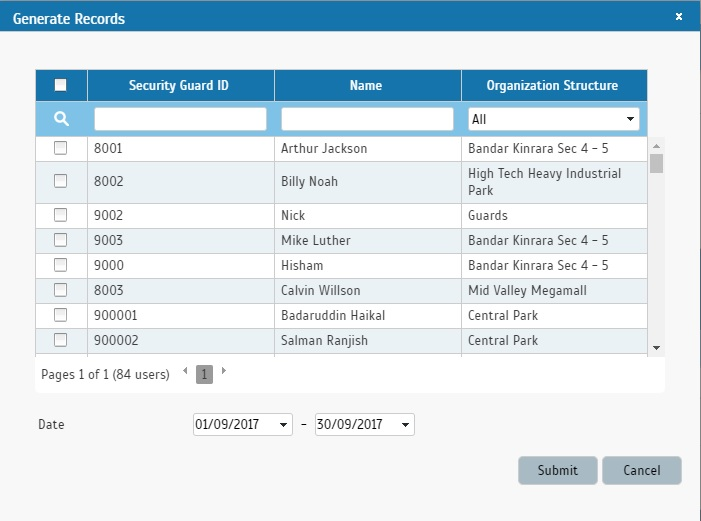
b) Generate Patrol Records
If you have retrieved Patrol Records and subsequently change some settings, for example the schedule or the routes assigned, you can use Generate function to recalculate or obtain adjusted records by choosing the date range for which the new settings has to be applied.
Related Post


You article is so useful for us. From your article, I get the updates. Moreover, I am providing the junk service. I am doing to clean the road and house to remove the junks in time. Click here to get our service.
ReplyDelete