

i-Account - How to Add or Remove Admin

Introduction
i-Neighbour and i-Account are two separate systems that have been integrated to enable the synchronization of billing and payment data. As a result of the integration, access management for i-Account is also controlled through i-Neighbour.
For i-Account subscribers, if you need to add new Admin users or remove user access, you can do this at i-Neighbour’s Manage Admin page.
Refer to the below guide on managing users in the system.
How to Add New Admin User
Note: Only i-Neighbour users assigned as a ‘Full Access Administrator’ or users that have edit permission for Manage Admin are authorised to add new Admin users. Refer to the user guide here: https://www.i-neighbour.com/UG_manage_admin
1. Log in to i-Neighbour. Go to the Community > Manage Admin page.


3. Fill in the Admin’s Name and Email address. The email address entered has to be valid as the system will send an activation email to this address.

4. Select the appropriate i-Neighbour system role from the dropdown menu. When you are first adding an Admin, you can only assign a role for i-Neighbour access. Access for i-Account can only be assigned after the new Admin has activated his/her account.

5. Turn off the "Add as Emergency Contact" and click on the Save button.


6. System will send an activation email to the Admin.

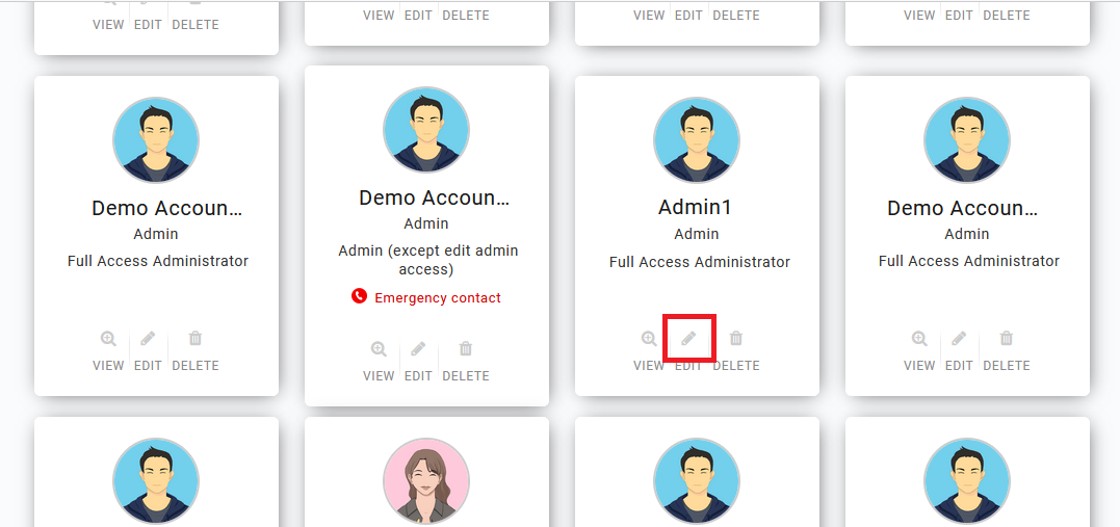
7. Once the Admin has activated his/her account, you can assign the i-Account system role. Go to the Manage Admin page and click on the Edit button for this particular Admin.
8. You will see another dropdown for the i-Account System Role. There are six default system roles available. For example, you can choose the ‘System Administrator’ role to provide this Admin with access to all modules in i-Account. Select an appropriate role from the dropdown and click on Save.


For more information on these six default roles, you can refer to the ‘i-Account System Role’ tab also under Manage Admin.

9. After gaining access, the new i-Account Admin will also be able to view the i-Account login icon on the right side of the navigation menu.

How to Disable Admin Access to i-Account or Delete Admin
1. If you need to disable or remove admin access to i-Account, there are 2 options:
i: Option 1: Disable Admin Access - Change the system role assigned from one of the six default roles to ‘No access to i-Account’
ii: Option 2: Delete the Admin from i-Neighbour
2. For option 1, log in to i-Neighbour. Go to the Community > Manage Admin page. Click on the Edit button.

3. Change the i-Account system role assigned from the existing role to ‘No access to i-Account’ and click Save.
Note: i-Neighbour ‘Full Access Administrator’ is allowed to make changes at Manage Admin. Thus, this option is not applicable if the user is still assigned as an i-Neighbour ‘Full Access Administrator’.

4. For option 2, at the Community > Manage Admin page. Click on the Delete button.

5. Confirm to delete the Admin from i-Neighbour. The deleted user will no longer be able to log into the system. The user deletion does not affect any i-Account documents or audit trails for historical transactions.

Note: If some of the screenshots or steps viewed here are different from the ones in the current system, this is due to our continuous effort to improve our system from time to time. Please notify us at info@timeteccloud.com, we will update it as soon as possible.


0 comments:
Have any questions or inquiries about FingerTec? Drop your input here.