6 Things You Need to Know about Ingress MySQL Database

Friday, December 29, 2017 TimeTec 15 Comments


Introduction
If you have some or absolutely no idea about MySQL database and how it works with Ingress, this is the right article for you to explore. It is well understood that by now there are countless articles written about MySQL database, and TimeTec Newsletter itself there are at least 30 articles that are touching on the same topic. In this article however, we will suggest on ways to communicate with Ingress MySQL database better.

1) Why MySQL?
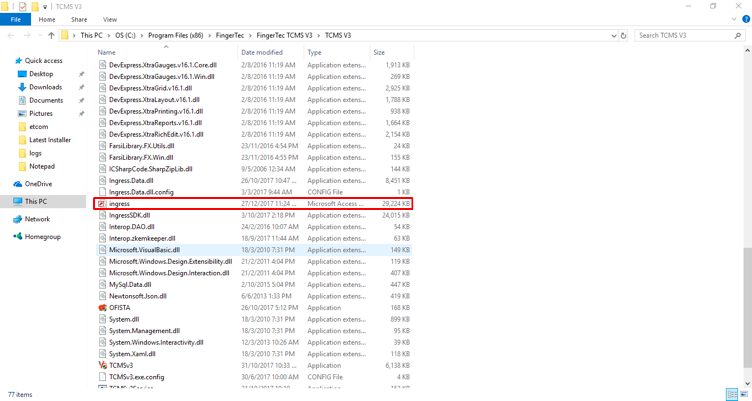
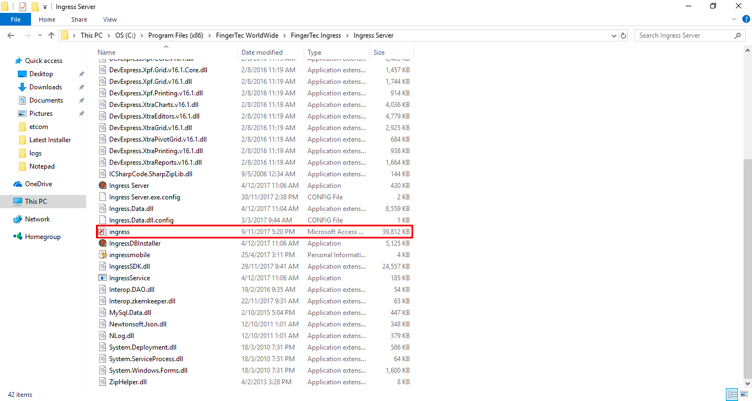
Ingress software is designed to support 2 types of database, one is .MDB format, which is recommended only for small sized companies. Small size in case of Ingress is described as:
User count of 100 and device connection of maximum 10. However, if you are exceeding this limitation, your next destination is Ingress MySQL. Ingress MySQL gives the flexibility for users to connect Ingress software via Server-Client connection. Besides,  Ingress MySQL allows users to cater up to 5000 User count, 10 Concurrent Client Connections and 50 standalone terminals with Real-time Monitoring Connection or 250 Standalone terminals without any Real-time monitoring Option. See the difference?

2) What do we use the DB installer for? 
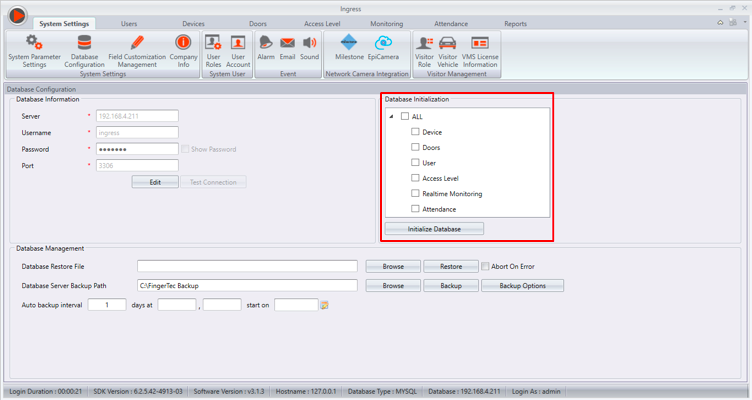
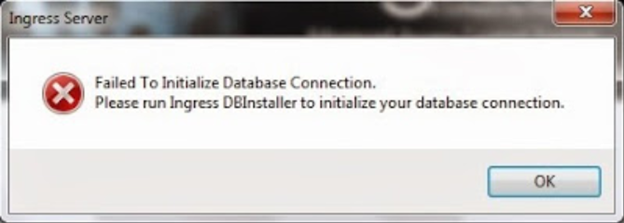
The simplest way to explain the use of DB installer is to connect the database from MySQL engine to Ingress software. MySQL is a separate database engine, or in simple words it’s a different database software which can store database in its designed format. Ingress connects to this database engine via IP connection and reads the data into the Ingress database tables. Hence, to make sure your MySQL database is connected to Ingress software and there are no errors while running the software and server, run the DB Installer.exe and complete all the three steps. Learn how to use DB Installer from this link: http://www.fingertectips.com/2016/02/9-common-mistakes-committed-in-ingress.html

3) Why do I need to Run DB Installer after software update? 
The first step you need to take when you are tackling software update is to make a backup of your database in the software. Then you can proceed with the software update and restore your backup from the older version to the latest. But please remember that when a software has new releases, it means that it is having some changes in the database tablings or schema. Therefore, everytime you are restoring database taken from an older version of Ingress software, it is necessary to run the Ingress DB Installer and complete the three steps to have all your database information and tables optimized and compliant to the latest version of the Ingress software. Here is a short list of issues you might face after updating your software to the latest version and restoration a backup from older version

- Missing Attendance Data after database restoration: the data
- Missing features or info from the software
- Unable to Save info in the software
- While running the software, Setup Wizards prompt voluntarily

To fix all of the above, after you run the software and restored the database, shut down the Ingress software and leave your Ingress Server running and execute the DB installer to complete all the 3 steps.

4) Lost MySQL Password cannot be retrieved
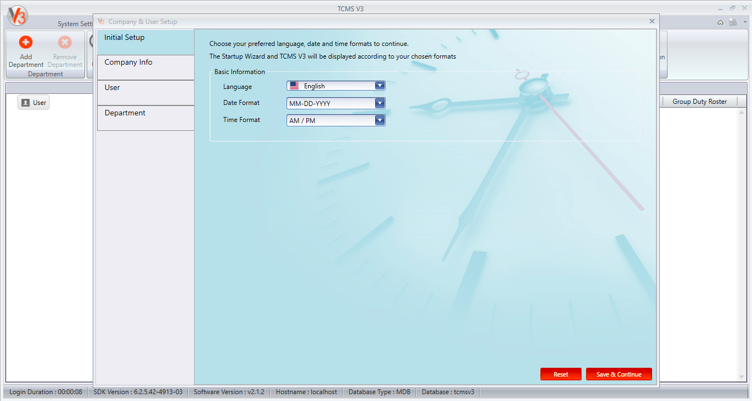
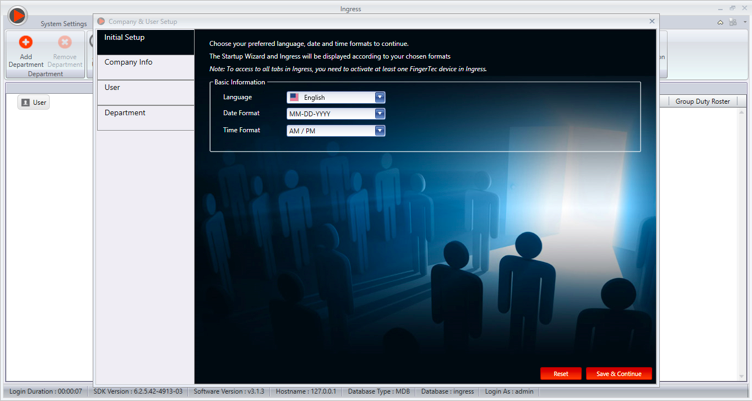
The title says it all. Whatever you do, don’t lose your MySQL password. You configure MySQL  password while running Ingress setup file for the first time. The Login and password are always set by the installer, and shall be kept somewhere safe for future reference.  This is because the lost MySQL password is almost impossible to retrieve. There are some articles on how to retrieve them (sample article: http://www.fingertectips.com/2014/08/resetting-your-mysql-database-password.html ). You are welcome to comment whichever of them worked for you, because none of them worked for us.

5) Manage your MySQL database
MySQL is password protected but it has a transparent database. This means that integration from MySQL database to a third-party system is easier than expected. All your database information, including tabling names and. etc can be viewed via GUI tools, such as SQLyog. Hence, third-party software will not only allow you to extract data, both raw and processed information easily but also it allows you to study and manage your database easier than ever. There are several features available, specially for programmers to learn their database but also their software details. Here is one example for all to refer to: http://www.fingertectips.com/2015/11/backuprestore-ingress-database-using_26.html

6) What should I do if my Ingress MySQL database is exceeding the introduced limitation of User count, FingerTec device and Server-Client Connections? 
Once again, MySQL database allows users to keep the database in a separate engine out of the software. This means that if you are having Huge database, please take note of the following suggestions:

Separate your database Engine server and Ingress software: This simply means, install MySQL on 1 computer, and Ingress software on another server or computer and connect Ingress server to MySQL database via IP connection for a smoother run of the software

Do database Maintenance more often: Break your MySQL database tables, specially Data Audit list, where the transaction data is saved. If you are having too old of data its best to break perform housekeeping on your MySQL database and Ingress software will be running as smooth as possible for you

Choose a Server with better specs: Users can always provide their details of requirement for database size to support@fingertec.com, so that we can get our experts recommendation on the best Server Specs for a smoother run of Ingress MySQL.

We hope that you get some idea about how to handle Ingress MySQL database, and please explore on this topic more if you are using it.

15 comments:

Have any questions or inquiries about FingerTec? Drop your input here.

TCMS V3 and Ingress Training Videos Now Available in Learning Center!

Friday, December 29, 2017 TimeTec 5 Comments


After months of preparing the materials for the videos, we are pleased to invite all of our resellers and customers to enter into our Learning Center to view the videos of TCMS V3 and Ingress at the comfort of your own home. These videos have been planned according to the two software’s syllabus and we can assure you that every topic is covered sufficiently in the process.

Each software training’s duration is close to 2 hours but worry not, you can learn the software at your own pace, hit play and pause at anytime you like, as many time you like until you understand the subject at hand. Not only that, after completion of the training, you can take the exam to test your understanding on the subject. We will send you a certificate upon passing the exam or you can learn the software all over again and retake the exam at your own convenience.

We also welcome feedback, email to support@fingertec.com for any improvement required.

Register your account now or login to the Learning Center to master Ingress and TCMS V3. We are in the midst of preparing TimeTec TA software training videos so check out the Learning Center for more trainings from TimeTec.

5 comments:

Have any questions or inquiries about FingerTec? Drop your input here.

Reset TCMS V3 and Ingress mdb for a New Database

Friday, December 29, 2017 TimeTec 14 Comments


Introduction: 
In certain situations, users might want to have a new/fresh database for their Ingress or TCMS V3 software. Take for example if the users plan to upgrade the computer or carry out some housekeeping for the servers and wish to reset the software (Ingress/TCMS V3) database.

Please take note that before you proceed with the resetting process, please make sure that you have either secured a healthy backup of your present database or confirmed that you do not require your present database anymore. This is because once the reset process is completed, it’s not possible for the data to be retrieved, and we do not take any responsibility for any data loss of such.

If you have confirmed or done the above step, please follow the steps below to start the reset process:

For TCMS V3
1) Go to TCMS V3 folder directory ( C:\Program Files (x86)\FingerTec\FingerTec TCMS V3\TCMS V3 ) - The file directory might be different based on your installation path


2) Rename the file name Ingress.mdb to another name, such as Ingress.mdb123
3) After you rename the file, just start the software and it will prompt a fresh database in which you will be required to key in the company info, similar with a fresh installation.


4) If you have the old database, you can restore the old database to retrieve all of the previous data.
For Ingress mdb:
1) Go to Ingress folder directory ( C:\Program Files (x86)\FingerTec WorldWide\FingerTec Ingress\Ingress Server ) - The file directory might be different based on your installation path
2) Rename the file name Ingress.mdb to another name, such as Ingress.mdb123


3) After you rename the file, just start the software and it will prompt a fresh database in which you will be required to key in the company info, similar with a fresh installation.


4) If you have the old database, you can restore the old database to retrieve all of the previous data. For Ingress MySQL, please follow these steps:

1) From Ingress software, go to System Setting > Database Configuration > Initialize Database 2) After you initialized the database, all of the data will be deleted. 3) If you’ve initialized the database and after activating the device, you will need to add 1 clocking schedule and 1 group duty roster because the default clocking schedules and group duty rosters are deleted during the process. 4) Please take note that if you do not add the clocking schedule and group duty roster, you will then not be able to add the new users as it will prompt an error.

14 comments:

Have any questions or inquiries about FingerTec? Drop your input here.

5 Common Errors in TCMS V3/ Ingress Software and How to Fix It

Thursday, December 28, 2017 TimeTec 73 Comments


Introduction

Occasionally, you might encounter into some errors when using TCMS V3 or Ingress software. Don’t
close the program just yet. Here we have compiled 5 common errors in the software and how to
solve it.

Problem 1 - Empty Attendance Sheet


You clicked on the Attendance Sheet and it’s empty! On rare instances, there can be situations
whereby the attendance sheet will appear empty even though it has already been generated for a
few times.

So what do you do? We recommend for you to update the software to the latest version to ensure
that all of the functions are up-to-date and bugs-free. Click on software menu icon to update your
software via Online software update or you can check for the latest version here
 
Problem 2 – Backdate Issue


This issue usually happens when you restore a database that is under a different time zone. The
reason for this is because the time in your current PC does not match with the time inside the
database. Additionally changing the timezone of your computer can result in the Backdate error as
well.

To solve this error, please contact support@fingertec.com for a remote support session
arrangement. Install the Teamviewer software (FingerTec version) at:
support@fingertec.com to start the remote support session.  
Problem 3 - Database Server Connection Error


This issue occurs whenever TCMS V3/Ingress database is not placed under the correct file. For this,
you will need to repair and relocate the database in order for you to run TCMS V3 software.

To repair the database, please refer here:

Problem 4 - TCMS V3/Ingress Services Fail To Start

This problem happen because you do not have the privilege to run the software. Please make sure
that you are login as the Administrator in order for TCMS V3/Ingress services to run smoothly at the
background.

Please note that if you have more than 1 user account within the same PC, you will need to ensure
that during the installation process, you are login under the Administrator account and be sure to run
the installer as an Administrator in order to complete the installation process. Otherwise, you will not
be able to use the software whenever you login into other standard user account in the PC.

Problem 5 - Missing dll File


Normally, certain antivirus software will detect the dll files as a threat and delete the dll files that
allow the software to operate under normal condition. To solve this, just follow the steps below:

1. Download and extract the libusb0.dll. file from this link:

2. Place libusb0.dll in \Windows\System32 (usually located at disk C) if you’re running 32-bit
Windows. On 64-bit Windows, please place the file in \Windows\SysWOW64.

3. Reboot your PC.

4. After rebooting, if you are still getting libusb0.dll error, please do the following:

Press ‘Start‘
Type ‘cmd‘ in search and press Enter.
Type regsvr32 libusb0.dll and press Enter

5. Reopen the TCMS V3 software.

73 comments:

Have any questions or inquiries about FingerTec? Drop your input here.

Manage Employees’ Approval Request for Edit Attendance

Thursday, December 28, 2017 TimeTec 1 Comments


Introduction
TimeTec TA offers various ways for employees to report their attendance. However, there still could be certain  
situations that prevent the employees from clocking in as usual, such as an absent-minded staff forgetting to
check in or even a staff who couldn’t connect to the Internet from a remote site while using the App.


Therefore, we have introduced a new Approval option in TimeTec TA, known as Edit Attendance. This option
which is available on both Web Browser and Mobile App, will allow users to edit their attendance data as well
as requiring their superiors’ approvals. In order to use this option, the System Administrator must first set the
approval rules for Edit Attendance within the system.


Process
System Administrator

1.       Go to User > Manage Approval Rules > Add > Edit Attendance Settings


2. Set users
Name the Approval Process and select the application where the approval process will take effect, which in
this case will be TimeTec TA. Then, select the users to apply these approval rules. Note that there are three
options to select the users: Select Only Particular Organization Structure, Select Only Certain Users or Select
All Users.


3.       Set the criteria to initiate the process
Based on your company’s policy, please select the relevant criteria to trigger the Edit Attendance function.
From the default list, delete whichever option that is unnecessary.


4.       Set the approval process and approvers
System Administrators can choose Auto Approve for automatic approval, or select Set Approvers if he/she
requires specific personnel to execute the approval process. In terms of ‘Set Approvers’, the System
Administrators can select the approval process either by sequential, random or any number of approvers.
To proceed with the process, please select the approver name, then click on ‘Add Approvers’ and select the
approvers ‘Based on System Roles’ or ‘User’. For ‘Sequential’ approval, the System Administrators will need
to set the sequence number of the approval while for ‘Any’ approval, the numbers of approval will instead
need to be set.
i) Auto Approval


ii) Sequential Approval


iii) Random Approval


iv) Any Approval


5.       Set the validity period for the application
System administrator can set the application validity period for the approvers to respond. The validity period
can either be set based on the number of hour or number of day. For example, if the period is set as 4 days, the
application that has not been approved within 5 days will then expire.


6.       Once the rules have been submitted, you will see that the approval rules have been added in and will be
initiated on the effective date.
Applicants
1. Once the approval rules have been set, users can start applying to Edit Attendance via TimeTec TA.
Requests can be made from the Attendance section or from Approval > Request.


2. Select the date to edit, fill in the correct clocking details and provide a remark. Next, click Submit >
Confirm.


3.       Users can view their Edit Attendance Request Details at Approval > Request > Status. The status will be shown as
‘New’ if no one has approved the request, ‘Pending’ if one of the Approver has approved the request and
‘Rejected’ if the request is rejected.


4.       Users will be notified via notification once the request has been approved or rejected. Note that the users
can also check the status of their request in the Approval > Request section.


5.       The edited data will also be available on the user’s attendance sheet once their request has been
approved.


Approver
Within the Approver view, go to Approval tab to view any New requests. Click at the Status to view the
request details. Note that Approvers can also view the request in the Notification.


To approve or reject, please insert your comments and click on the Approve or Reject button. Select ‘Only
disclose to approvers’ to limit the comment view to approvers only. Otherwise, both approvers and applicants
will be able to see the comments.


1. Sequential Approval
i) For Sequential Approval, the approver will need to follow their turn in order to approve the request. For
example, approver with sequence 1 will need to approve the user’s request first before approver with sequence
2 can be able to proceed. Note that the system will notify the approvers if it is not yet their turn to approve the
request.


ii) The approver with sequence 2 can view the approval status as ‘Pending’ in the Approval section after the
approver with sequence 1 has approved the request.


iii) Once the approver with the last sequence approved the request, a pop-up message will appear to notify that
the request has been approved and the request status will be changed to ‘Approved’.


2.       Random Approval
i) For Random Approval, all of the approvers will need to approve the request before the request status will
change to ‘Approved’. Note that the approvers do not need to wait for their turn in order to approve the request
and if any one of them rejects the request, the request status will then change to ‘Rejected’.


3.       Any Approval
i) For Any Approval, the request status will change to ‘Approved’ if any of the approver has approved the
request. Note that only if all of the approvers reject the request, will the status of the request then be changed
to ‘Rejected’.


For users of TimeTec TA mobile App, please refer here for additional guidance.

1 comments:

Have any questions or inquiries about FingerTec? Drop your input here.