

TimeTec TA Made Easier With TimeTec TA Wizard

Introduction
TimeTec TA is a cloud-based time attendance system that offers various features to ensure a systematic time attendance management. The registration process is very quick and once completed, TimeTec TA wizard is easily made available to guide the user on the basic features of TimeTec TA.
TimeTec TA Wizard will assist users especially new users in using TimeTec TA for the first time. As such, users will be able to perform basic functions such as adding user, setting up the organization chart as well as configuring schedules. To experience TimeTec TA and its wizard, please follow the steps below:
Process:
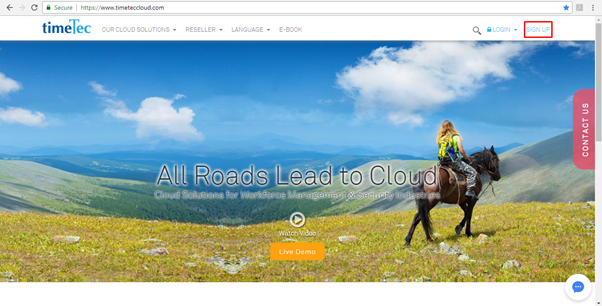
1. Go to www.timeteccloud.com and then click on SIGN UP.
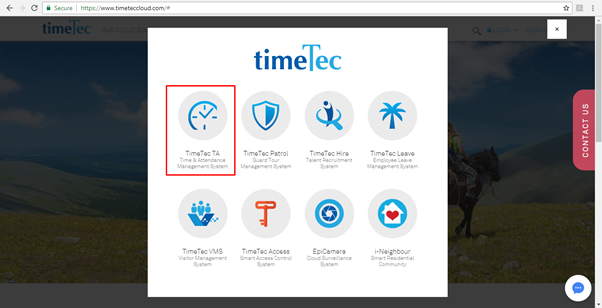
2. Then, click on TimeTec TA Time & Attendance Management System.
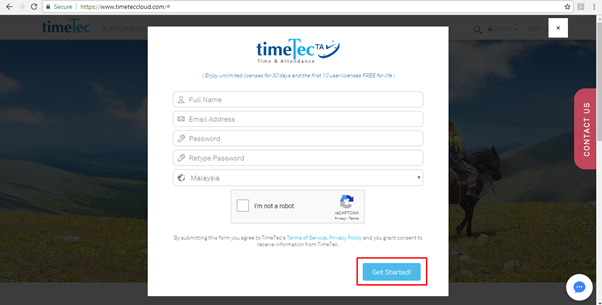
3. Next, key in your Full Name, Email Address and Password and the country. Note that the password must be at least 6 characters along with combination of uppercase letter and alphanumeric. Once completed, tick on the ‘I’m not a robot’ captcha and the Get Started! button.
4. Next, key in your Company Name, Industry, Contact Number, Time Zone and No. of Employees within the organization. Click on Create Your Account button after filling up the required fields.

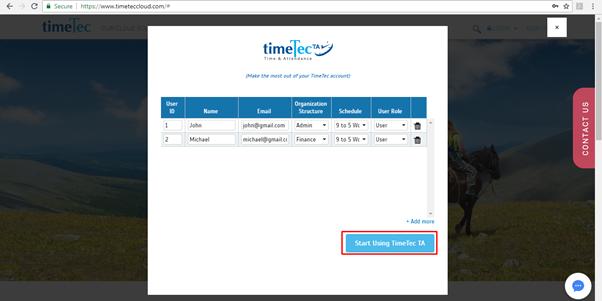
5. Afterwards, you will be prompted to key in the user details (user ID, email, organization structure, schedule and user role) for TimeTec TA. Click on the + Add more button to add users. Note that you can also start navigating to TimeTec TA page by clicking on Start Using TimeTec TA button.
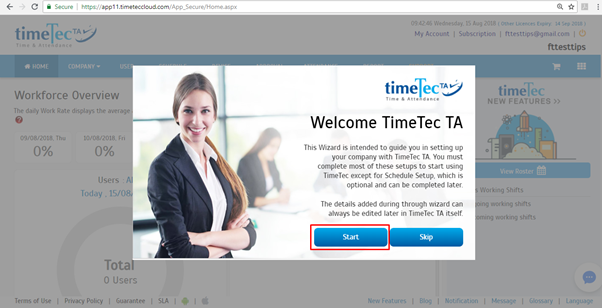
6. Once in TimeTec TA main page, a TimeTec TA wizard message will be displayed. Users can thus begin TimeTec TA wizard by clicking on the Start button. If you wish to skip TimeTec TA wizard, please click on the Skip button.
7. Initially, the wizard will redirect users to the Company Setup Wizard. In here, users can edit the company details and after completing, please click on the Save & Next button.

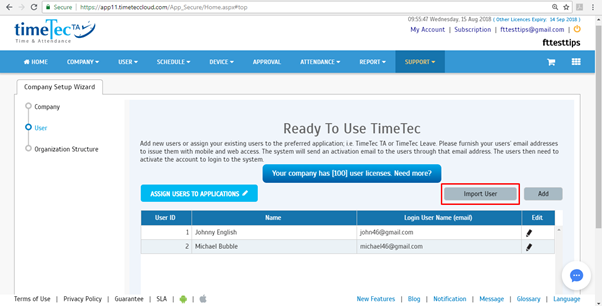
8. Next, users will be directed to the user section, whereby they can choose to import the user or manually add the user. Click on Import User button to begin importing users. For more information about importing users to TimeTec TA, please refer to the following link:
http://www.fingertectips.com/2017/01/batch-add-user-into-timetec-ta-made.html
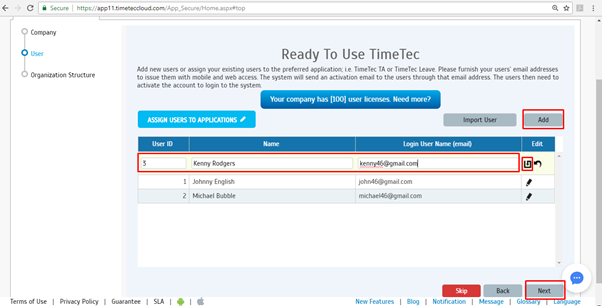
9. If you wish to manually add the user, click on Add button. Fill in the User ID, Name and Login Email of the user. Click on Update logo after filling in the data and then the Next button to navigate into the next page.
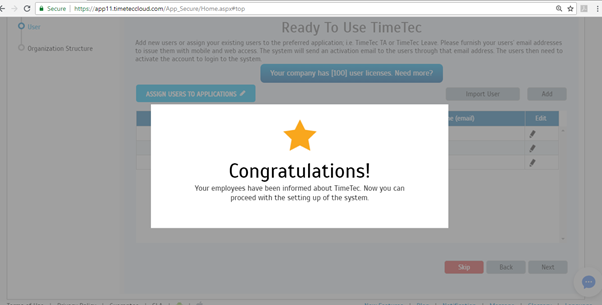
10. A message will then be displayed to inform you that the added employees have been informed about TimeTec TA via email.
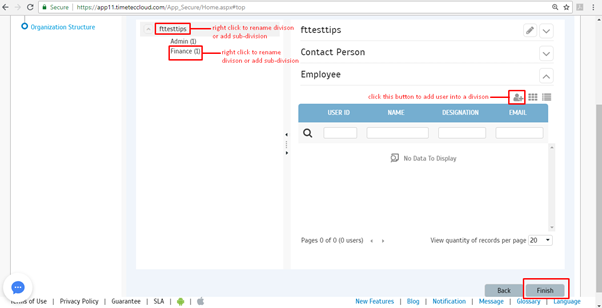
11. Moving on to the organization structure section. Users may rename the division or add a new division by right-clicking on the division name. Click on Add User symbol to start adding the user into the division. Once done, please click on the Finish button.
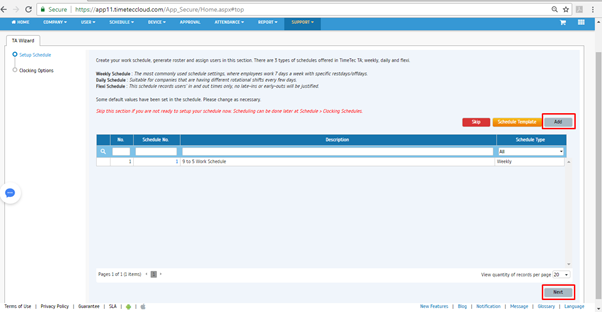
12. Subsequently, the wizard will direct you to the schedule configuration section. Click on the Add button to add a new schedule and click Finish once done setting up.
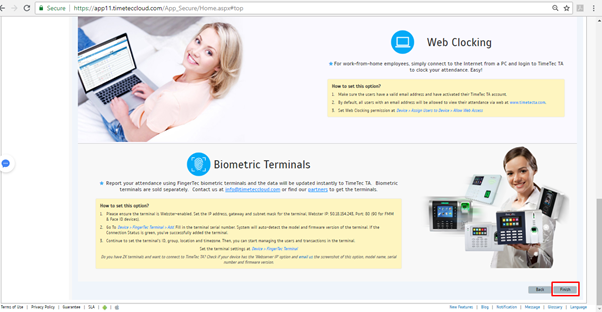
13. Lastly, users will be directed to the Clocking Option section. Within this page, you will find more detailed information and instructions regarding clocking option such as Geo-location, Wifi, Time Beacon, NFC and Supervisor Mobile Clocking. Click on each tab to view more details on each type of clocking option. Once done, click on the Finish button.

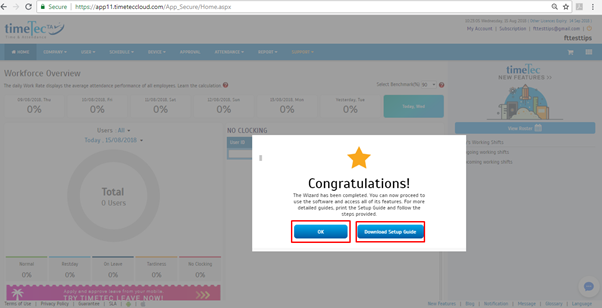
14. A congratulation message will pop-up to indicate that the wizard has finished. Click on the OK button to return to TimeTec TA main screen or click on the Download Setup Guide to know more about TimeTec TA feature.
Note: If some of the screenshots or steps viewed here are different from the ones in the current
system, this is due to our continuous effort to improve our system from time to time. Please
notify us at info@timeteccloud.com, we will update it as soon as possible.


0 comments:
Have any questions or inquiries about FingerTec? Drop your input here.