

Set your Clocking Boundary with TimeTec TA GPS Geofence Feature

Introducing our latest option for GPS clocking in TimeTec TA: Geofence. What is Geofence? Geofence is a virtual geographical perimeter or barrier made for a specific location, i.e your office. By setting a geofence in TimeTec TA, employees can clock their attendance using GPS clocking only if they are within the permitted area. This restriction will ensure employees are present within the assigned location during the clocking process.
Setup Process
Let's say you are setting up a Geofence for your company’s employees, for Site A.
1. Set your Geofence location
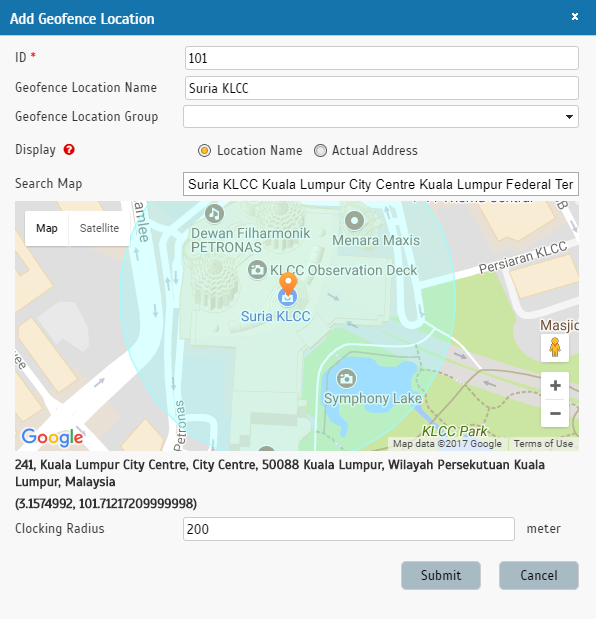
Go to Device > GPS Geofence and click Add. Create an ID and insert the Geofence Name. Select the Geofence Group to group this location. However, if you don’t have any Geofence Group created yet, you can skip this and do the grouping later at Geofence Group tab. Choose whether to display the location name as per the Location Name set or as per actual address.
Put the address in Search Map and drag the GPS pointer to the desired location. Set the Clocking Radius in meter. The boundary of the location (permitted clocking area) will be highlighted in the map for your reference.
Repeat these steps to add other locations.
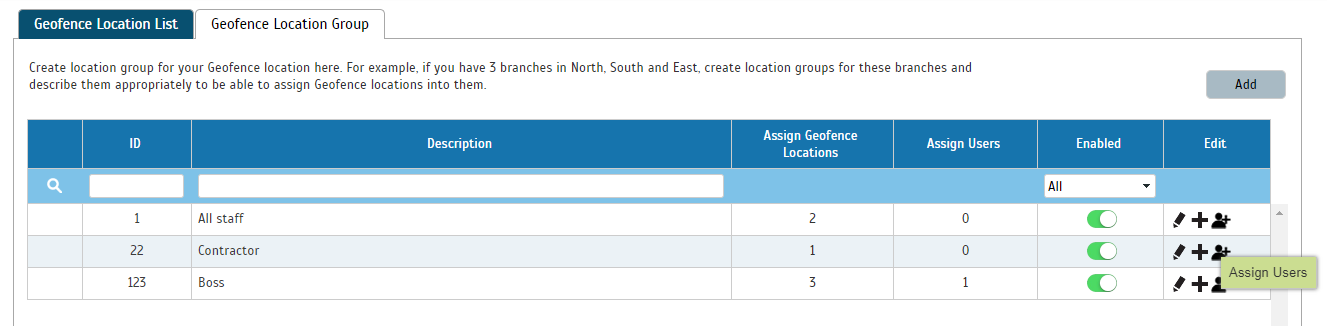
2. Group Geofence Location & assign Users in Geofence Group
Geofence Group is made to allow users to manage Geofence locations and assign users into group easier. Click “Add” to create a new Geofence Group. Create an ID, name the group and click Save.
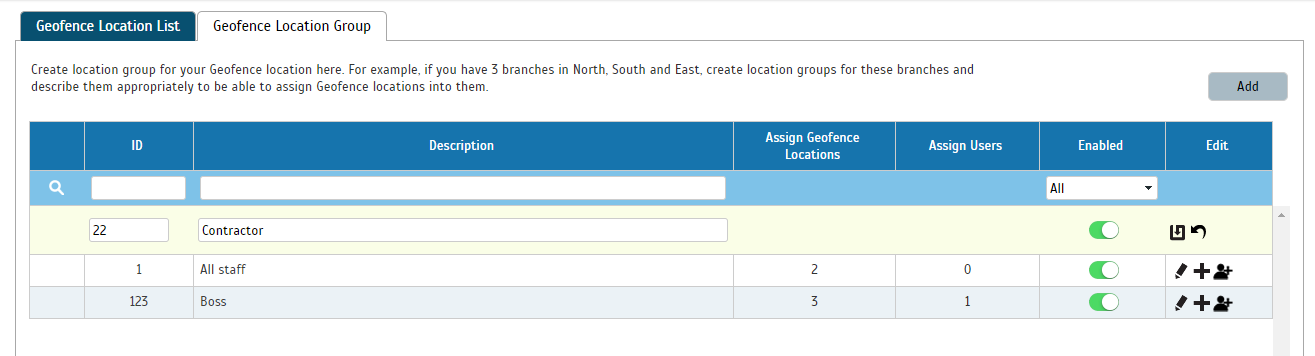
Once you have created the Geofence Group, click the Add icon under the Edit column to add Geofence Location into the group.
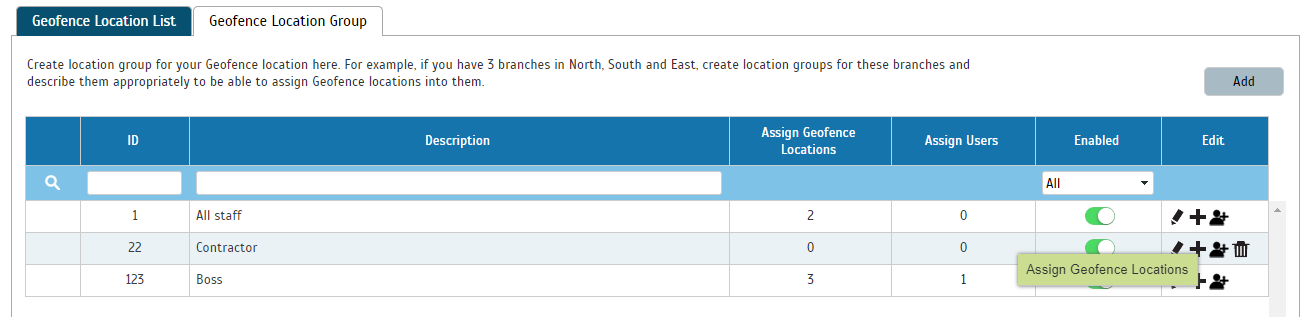
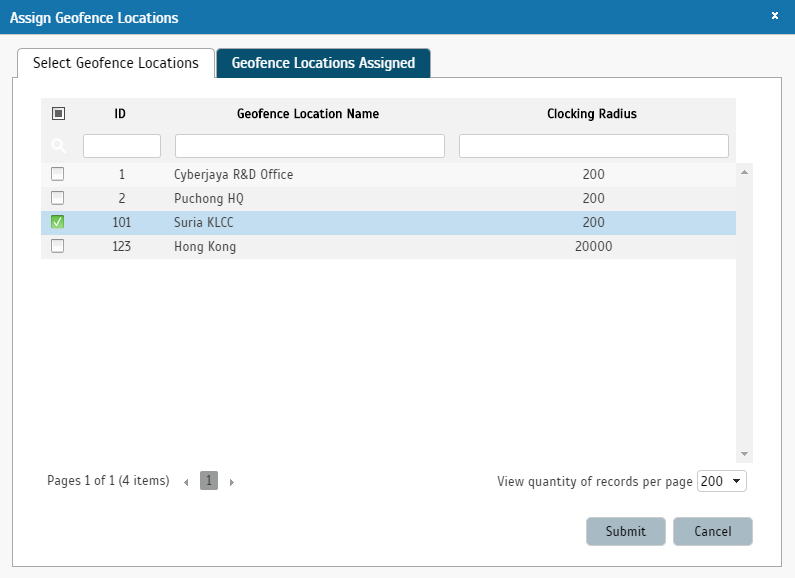
Select the Geofence location(s) that you want to add under this group.
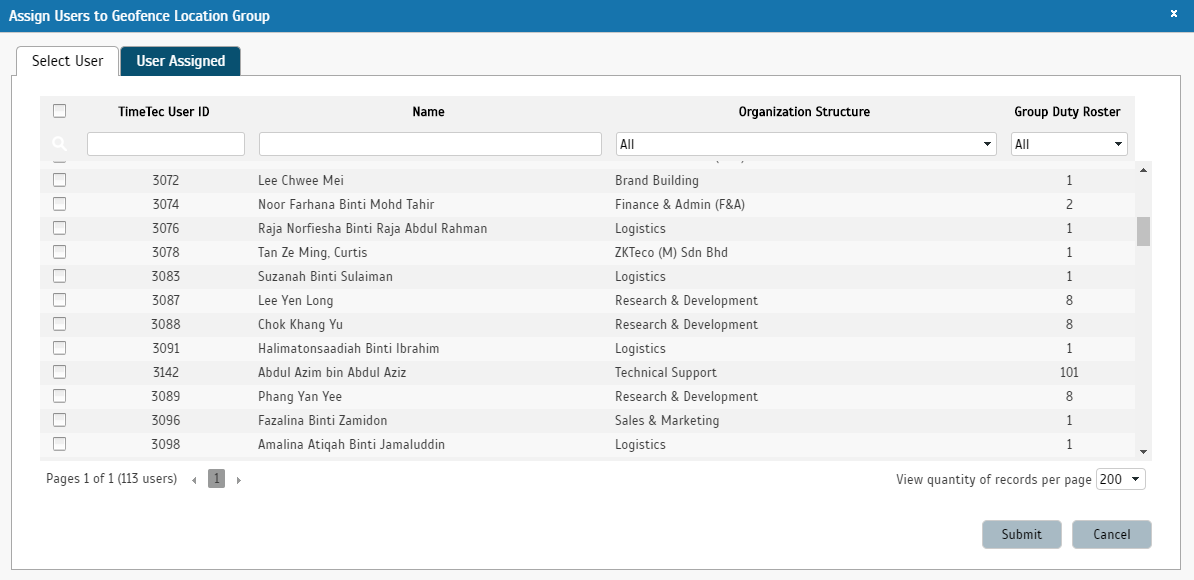
Click the User icon under Edit column to assign users to this group.
Select the user(s) you want to assign under this group. Click Submit to confirm.
Once the setup is done, the assigned users can only clock their attendance via GPS clocking within the permitted area.
Using GPS Geofence Clocking
In TimeTec TA Mobile App, at the Clocking page, users need to tap on the GPS icon to clock his/her attendance. Users will be able to clock if he/she is within the permitted clocking area.

If the user’s current location is outside of the permitted clocking area, an alert will be prompted and the user can then view the allowed clocking area for reference.

Alternatively, users can view the permitted clocking location in the Clocking page by tapping the current location address. Zoom into the map to see the boundary of the permitted clocking area.


Updated in January 2018:
To cater for occasions where employees’ clocking might take place outside of the Geofence perimeter, in Jan 2018, we've introduced a new feature called "Approval rule for Out of Area Clocking".
With this, employees are able to clock attendance out of the permitted area but it will then be submitted for approval (or Auto Approved) before it’s reflected in Attendance. Admin needs to first set a rule within the system by going to User > Manage Approval Rules > Out of Area Setting.
Refer to here for further guidance on Out of Area Clocking.


0 comments:
Have any questions or inquiries about FingerTec? Drop your input here.