To use the TimeTec web-based application to its full capacity, you'll first need to make sure that your Windows operating system is fully up to date. Before you download and install TimeTec, make sure that you've downloaded and installed the latest Windows installer here.
The latest MySQL database connection component for 32bit and 64 bit Windows can be downloaded here.
Initiated by Pang, Written by Nisha
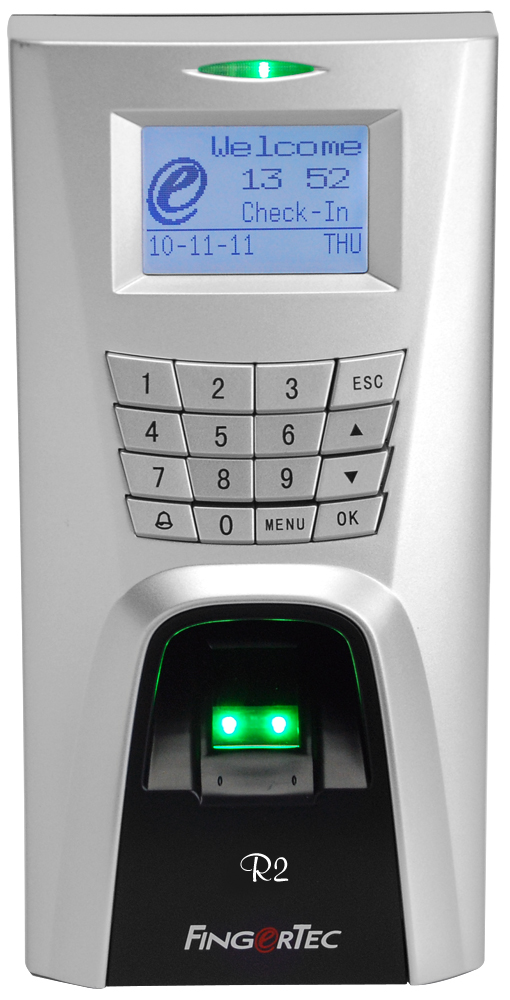
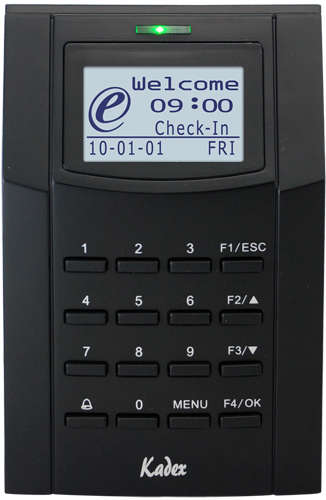
If you are using a R2 and Kadex pairing for door access system, chances are there is a bug when you use USB connection to download transaction data. The bug will give an error message “Memory Error” when the log transaction exceeds 50,000.
Please check your R2’s firmware and determine the firmware version. If the firmware is July – August 2011 and you haven’t encountered any error message, please update the R2 to the latest firmware by contacting your reseller or Fingertec support at support@fingertec.com for further assistance to upgrade your device firmware.
- Upon downloading the firmware, unzip and extract the file
- Choose the R2 folder according to the terminal’s card functions.
- Select the .exe file.
- Insert the terminal’s IP Address and click Connect.
- Click Update to start the update process.
- After the update process is completed, the terminal will restart.
If you have encountered the error message, you will need to download a repair tool to rectify this problem, as the firmware update does not apply here anymore. You may download the repair tool here.
1. Upon downloading the repair tool, unzip and extract the file.
2. Double click on the FTRemoveWavFiles.exe file.
3. Insert the terminal’s IP Address and click Connect to start the update process.
4. After the update process is completed, the terminal will restart.
5. Upon the restart, please download the user data & attendance log using the USB pen drive.
6. Once the data is downloaded, clear all the data from the terminal.
7.
Download the Language update and removal tools
here.
8.
Download the R2’s English Language file
here.
9. Unzip and extract the files.
10. Double click on the FT Languages Removal_Update Tool folder.
11. Double click on the FTLangUpdateTool.exe file.
12. Click on the file path to select the downloaded and extracted R2’s English Language file.
13. After selecting the file path click Connect to connect to the terminal.
14. After the tool is connected to the terminal, click Update to start the update process.
15. After the update process is completed, the terminal will restart.
Initiated by Jazz Lee,
Written by Vincent
Happy New Year to all our clients.
With the coming of the New Year, FingerTec would like to remind everyone to update the Group Duty Roster.
The TCMSv2 automatically generates the weekly roster for the New Year based on the previous year’s Group Duty Roster. For the Shift Roster, you will need to manually configure the Auto Scheduling in the Group Duty Roster and generate it at the Attendance Sheet when we approach the New Year.
Without doing this, the system will display the below for users that are assigned with the shift roster.
To configure the auto scheduling:
1- Go to Configuration.
2- Double click the Group Duty Roster.
3- Select the shift roster and click the Edit button.
4- Change the year to 2011 and click the auto schedule.
5- Change the end date of the effective date range to 31/12/2012 and click the okay button.
6- The system will create the new roster of the current year based on the previous year’s roster.
Upon completing the configuration of the Auto Schedule, generate the Attendance Sheet. After the generating process, you will get the result as per below:
Initiated by Aidid
Edited by Vincent
What is the etcom file? All data downloaded from the terminal into the TCMSv2 software is stored in the terminal data audit list and the etcom file.
When the data is downloaded from the terminal, the data will go into the etcom file. Once the data is downloaded into the etcom file, the TCMSv2 software will then calculate the amount of data inside the etcom file to match the amount of data inside the terminal. If it tallies, the terminal will clear all the data inside the terminal. If the data does not tally, the software will prompt an error for the customer to check the terminal.
The downloaded data will then be stored in the Terminal Data List of the TCMSv2 software. Using the downloaded data, users can then configure the Attendance sheet and view or print the Reports.
The etcom file is located at c:\Program Files\FingerTec Worldwide\TCMSv2\etcom. After you have located the file, you will need to open the file with Notepad.
Let’s take a look inside the file. There are so many transactions in the file. How do we read the transactions? You may breakdown the code as below:
000010407120916580000000011022ß…
- TTTTT - Terminal ID is 010
- DDMMYY - Date is 04/07/12
- hhmmss - Time is 09:16:58
- UUUUUUUUU - user ID is 000000001
- The 25th digit “1” is for In and “0” is for out.
- AA - work code is 02
- The 28th digit is verify type, “0” is for password, “1” is for fingerprint.
The etcom file will also display the data downloaded date and time. Besides that, it will also display the total amount of log transaction downloaded.
Etcom Errors
If you encountered this error, it means your fptaudit.dbf file is corrupted. To solve this error it will involve deleting the fptaudit.dbf file and all the data in the terminal data audit list will be gone. To download the data to the TCMSv2 software, please follow the steps below:
- Go to C:\\ Program Files > FingerTec Worldwide > TCMSv2 > etcom and copy the _etcom file.
- Then paste the _etcom file into the remote folder inside the TCMSv2 folder.
- Start up the TCMSv2 software, go to Attendance and click Download.
- The system will download the raw clocking data from the _etcom file.
- After the process is completed, the system will delete the file that you paste in the remote folder.
If you accidentally restored the previous backup database and the database has been replaced with the old data:
- Go to C:\\ Program Files > FingerTec Worldwide > TCMSv2 > etcom and copy the _etcom file.
- Then paste the _etcom file into the remote folder inside the TCMSv2 folder.
- Start up the TCMSv2 software, go to Attendance and click Download.
- The system will download the raw clocking data from the _etcom file.
- After the process is completed, the system will delete the file that you paste in the remote folder.
If you accidentally downloaded the transaction data into another computer, you will need to merge the data into the TCMSv2 software.
- At the wrongly downloaded data computer, Go to C:\\ Program Files > FingerTec Worldwide > TCMSv2 > etcom and copy the _etcom file and store it to a USB pendrive.
- Transfer the _etcom file into the remote folder inside the TCMSv2 folder computer that you want to merge with.
- Start up the TCMSv2 software, go to Attendance and click Download.
- The system will download the raw clocking data from the _etcom file.
- After the process is completed, the system will delete the file that you paste in the remote folder.
Apart from the solid system specifications and smooth system implementation, neat installation of biometrics terminal is one aspect that FingerTec resellers/installers should pay attention to. Generally, customers expect neat installations of FingerTec system at their offices and it is the job of FingerTec partners to deliver the expectation to the customers.
Based on feedback received from various installers, FingerTec is pleased to introduce a new wall plate for an improved R2 installation. Previously, installations of R2 would require hacking of walls to hide wires and cables; a necessary task but not easy. Therefore, to ease the installation, FingerTec is going to provide an additional wall plate at 10mm thickness with every purchase of R2 in the future.
This new wall plate provides sufficient room for installers to hide the wires and LAN cables, without the need to cut through walls or hack them and it comes with 4 ready-to-break ports on all of its four sides. By having the wall plate, installation of R2 would not only become simpler, it would also look better for the customers.
To use the wall plate, press the readily available ports to make a hole allowing wires and cables to pass through to be joined with the wall casing.
Mount the wall plate onto a wall and tighten all the screws.