New Firmware, New Features
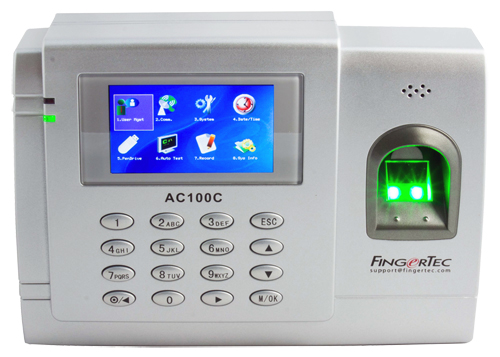
AC100C
1) To Enable & Disable DHCP
features for LAN
This feature is to enable the
Dynamic Host Configuration Protocol (
DHCP)
feature for the Local Area Network (
LAN so that the server can auto-assign the
IP address to the terminal.
However, the user is required to manually insert their network’s
gateway in the terminal.
To enable the DHCP function: Press
Menu > Comm> Misc Set > Ethernet DHCP > On
2) User Name Sort list
At the user management menu, the
user list is sorted according to the User ID. With this new feature, it is
possible to sort the user list according to the user name and alphabetically.
To enable this feature: Press Menu
> System > System > User Sort > On
You can download the AC100C’s
latest firmware
here.
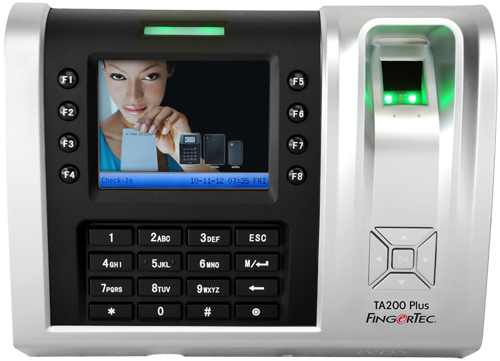
TA200Plus (FEM 800)
1) To Enable & Disable DHCP
features for LAN
This feature is to enable the
Dynamic Host Configuration Protocol (
DHCP)
feature for the Local Area Network (
LAN) so that the server can auto-assign the
IP address to the terminal. However, the user is required to manually insert their
network’s
gateway in the terminal.
To enable the DHCP function: Press
Menu> Comm> Network > DHCP > LAN
2) User name Sort list
At the user management menu, the
user list is sorted according to the User ID. With this new feature, it is
possible to sort the user list according to the user name and alphabetically.
To enable this feature: Press Menu
> System > System > User Sort > On
You can download the TA200Plus’s
(FEM 800) latest firmware
here.
Q2i (FEM 800)
1) To Enable & Disable DHCP
features for LAN
This feature is to enable the
Dynamic Host Configuration Protocol (
DHCP)
feature for the Local Area Network (
LAN) so that the server can auto-assign the
IP address to the terminal. However, the user is required to manually insert their
network’s
gateway in the terminal.
To enable the DHCP function: Press
Menu> Comm> Network > DHCP > LAN
2) User name Sort list
At the user management menu, the
user list is sorted according to the User ID. With this new feature, it is
possible to sort the user list according to the user name and alphabetically.
To enable this feature: Press Menu
> System > System > User Sort > On
3) To Enable the Adaptec Plus
Feature
With the new firmware, the user
have the option to enable/disable the Q2i to use with the AdapTec Plus.
To enable this feature: Press Menu
> System > System > 2P > AdapTec Plus
You can download the Q2i’s (FEM
800) latest firmware
here.
For more information regarding updating firmware, please
refer to my previous post
here.
Written by Vincent


10 comments:
Have any questions or inquiries about FingerTec? Drop your input here.